
Review: Motorola VA76r Tundra
Camera
Press the camera button in the side of the Tundra and the camera launches in about two seconds. The camera interface has a circle in the lower left corner as we've seen on other Motorola phones. This little circle lets you cycle through some of the camera's basic controls, such as zoom, scene setting, styles, and tagging. Press up or down on the D-pad to select between the settings and press sideways on the D-pad to change whichever setting you've selected.
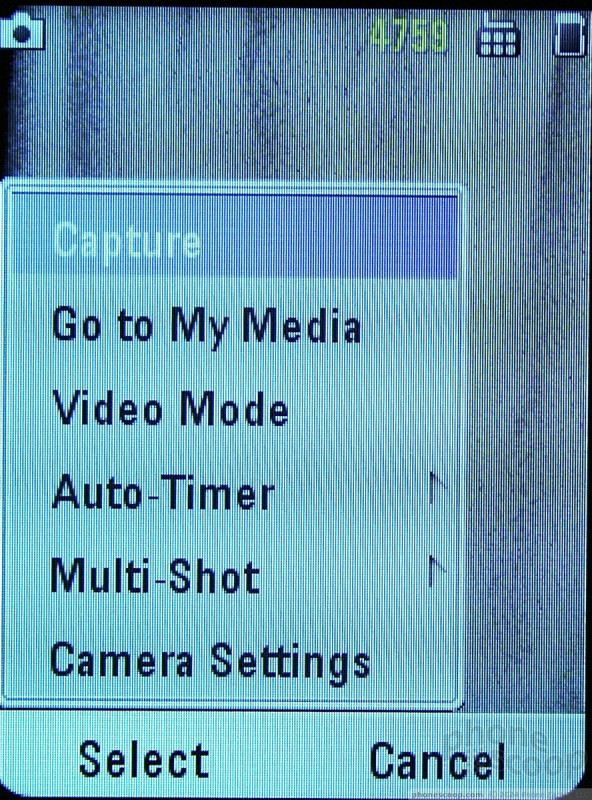
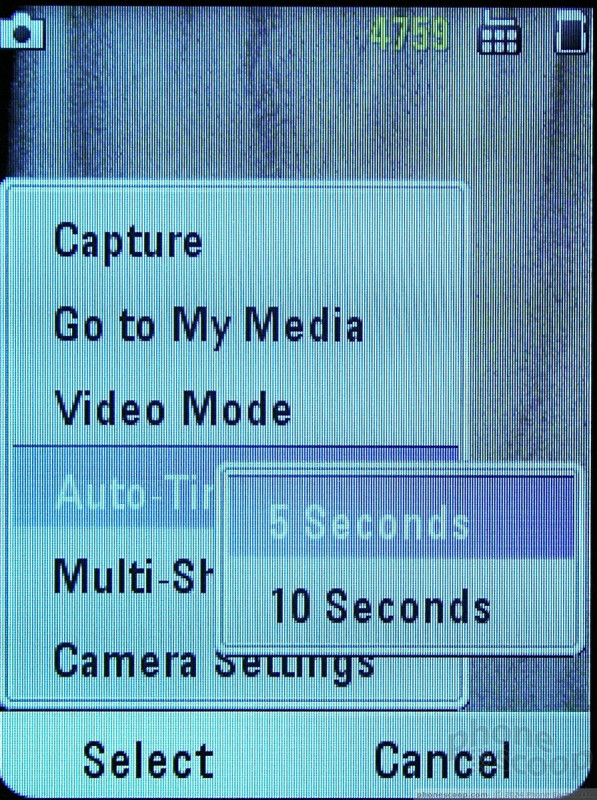
Use the left soft key to get to the full camera menu, which lets you switch to video mode, set a timer (5 or 10 seconds), multi-shot (4, 6, or 8 pix) and change other settings.
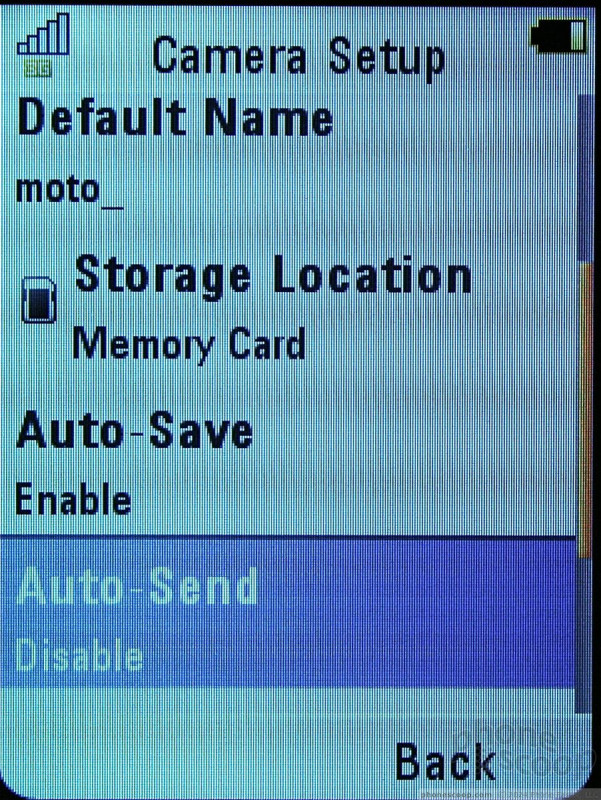
Up at the top of the screen, you can see which mode you're in (still or video), how many images you have left to store, the quality setting, and where images will be stored. It takes about 1.5 seconds to capture the image and show you the review screen. The video camera works exactly the same. In all, it's pretty easy.
As mentioned, the camera also operates when the Tundra is closed. You can press the camera button and it will launch with the external display serving as the viewfinder. This is useful for self portraits, since both the lens and viewfinder face you.

Gallery
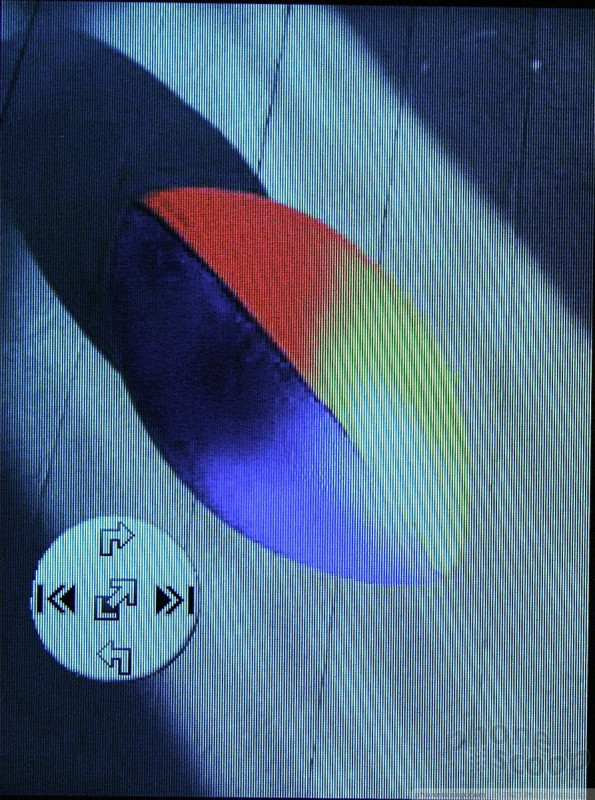
The gallery, as accessed from the camera, is an interesting set up. You'll see the last image you shot fill up the screen, with a circle in the lower left-hand corner. The circle corresponds with D-pad actions. Press the D-Pad left or right to cycle through your gallery. Press up to rotate the image 90 degrees clockwise and press down to rotate the image counter clockwise. Neither of the soft keys does anything when viewing the images this way. All you can do is look.
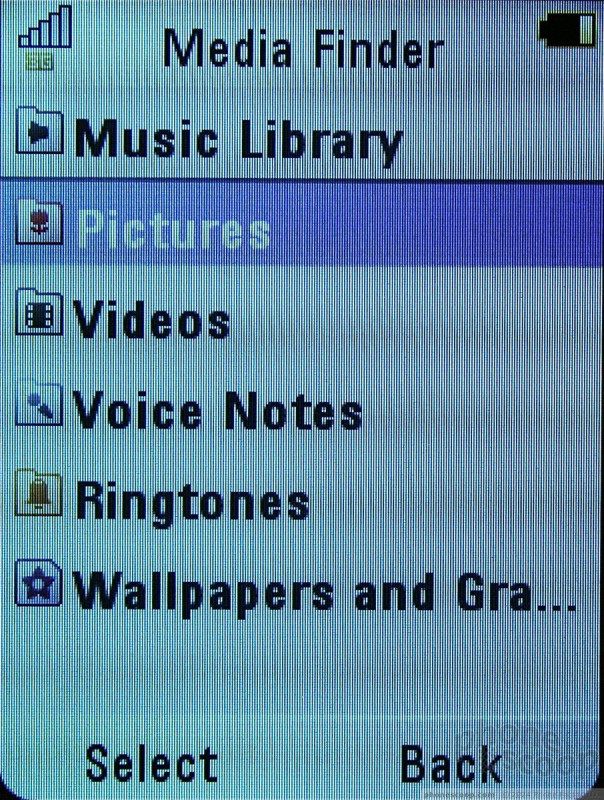
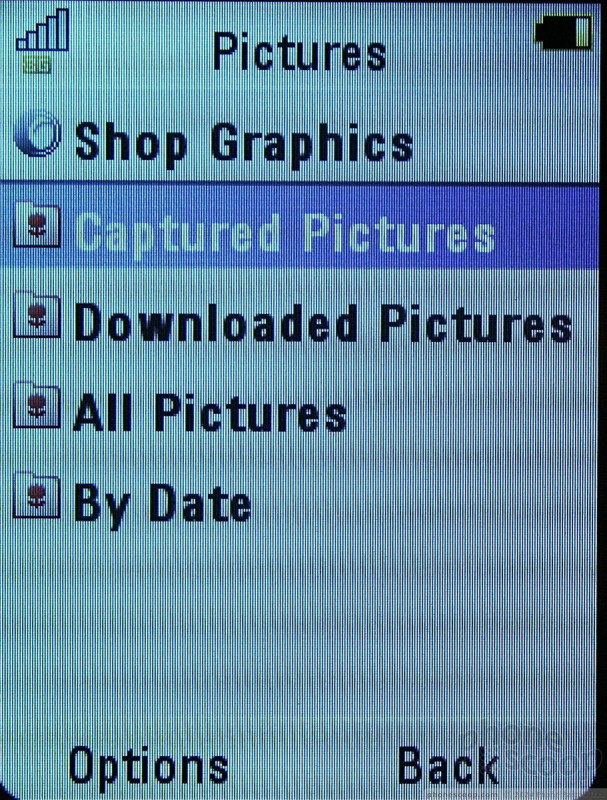
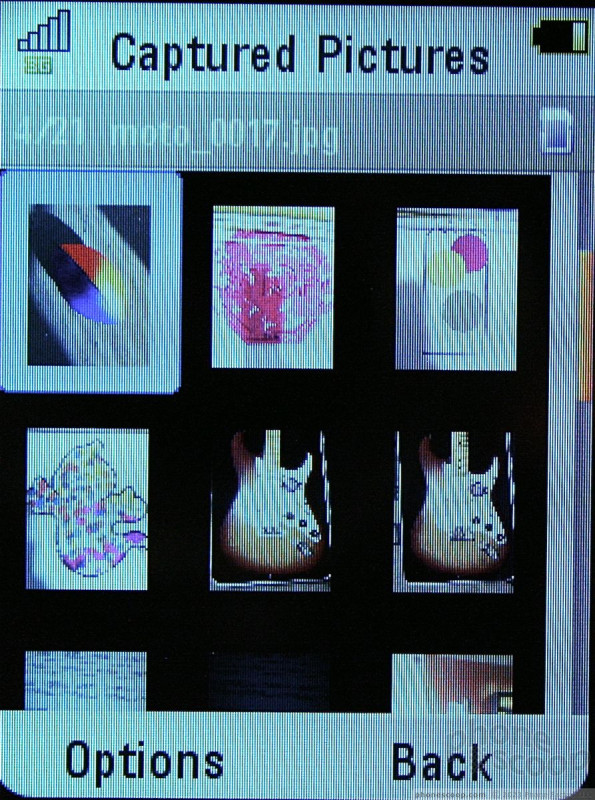
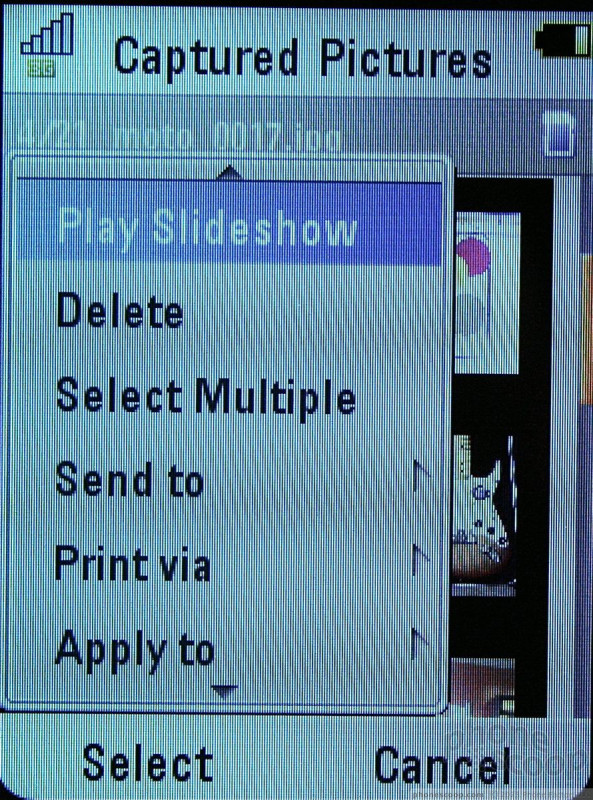
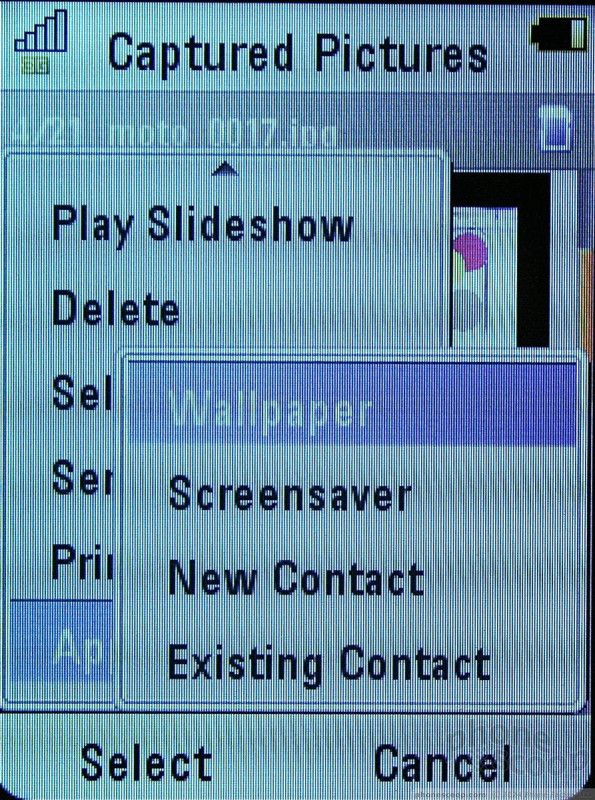
If you want to interact with your pictures, you have to open up the gallery through the main menu. You have to go though the MyStuff folder, then the Find Media Folder, than the "My Pictures" folder. They don't make it easy to find, but it is there. Once open, you'll see a typical grid with your images. If you press the center of the D-pad, the image will open up with the same circular control pad appearing on the screen. Here, there is an options menu that lets you edit, print, zoom, pan, and otherwise interact with the photo.

 CES 2009
 iPhone 15 Series Goes All-In on USB-C and Dynamic Island
 Samsung S24 Series Adds More AI, Updates the Hardware
 Motorola Gets Serious About Foldables with New RAZR Lineup
 Kyocera Brings DuraForce Pro up to Date
 Motorola VA76r Tundra


