
Review: LG Glimmer
Camera
The camera will launch if you press and hold the camera button. It takes about 2.5 seconds to launch. Of course, you can also get there from the main menu. Dedicated buttons are typically faster, and that holds true for the Glimmer.
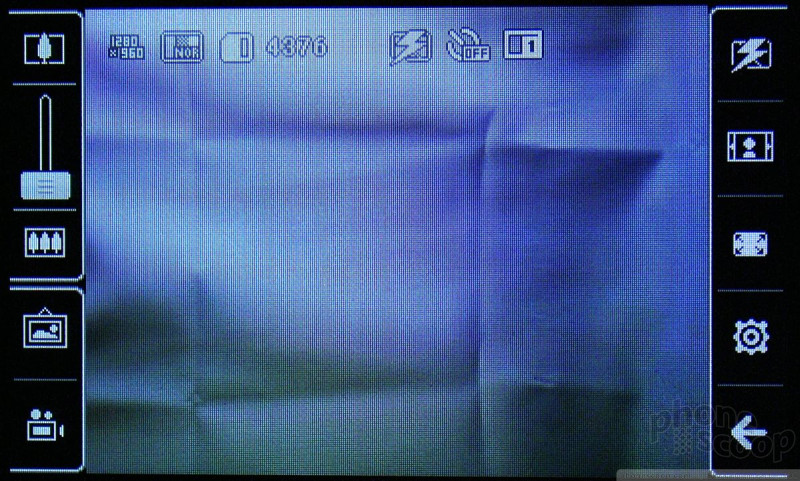
As with most other touch-based phones we've seen on the market in the past year, many of the camera's functions have been moved to the screen of the phone. For the Glimmer, this means there are two columns, on the left and right side of the main screen, that hold most of the phone's functions.
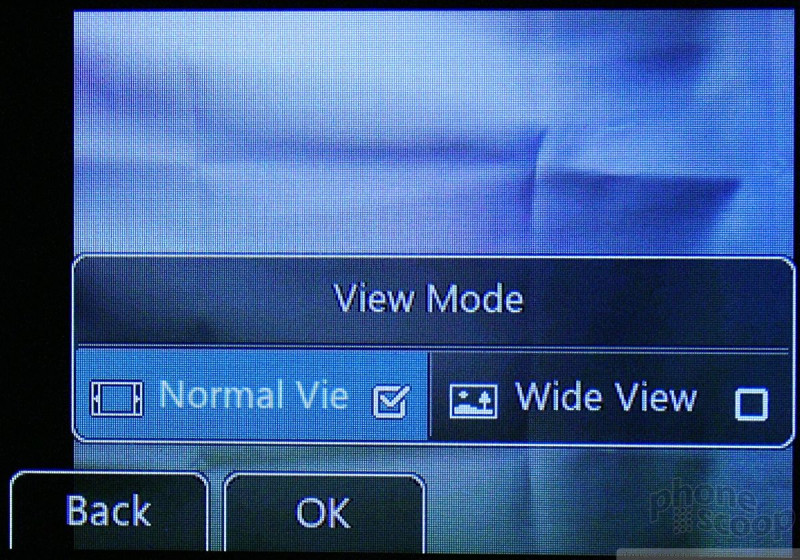
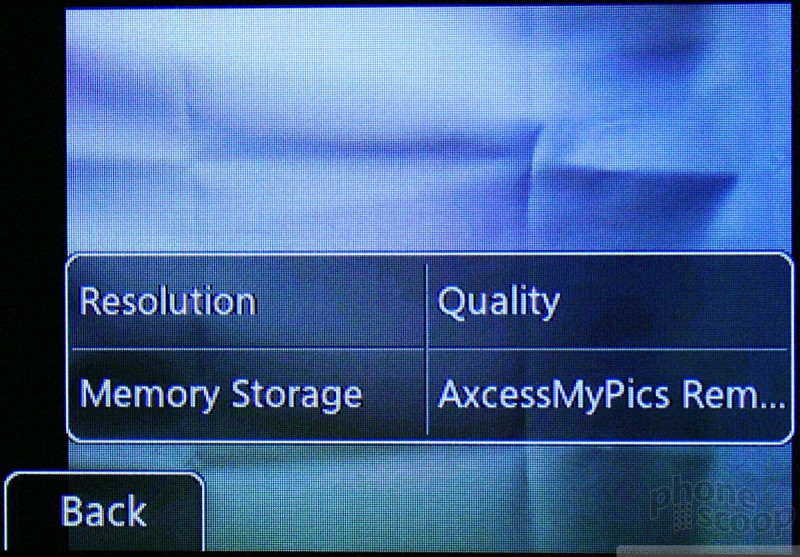
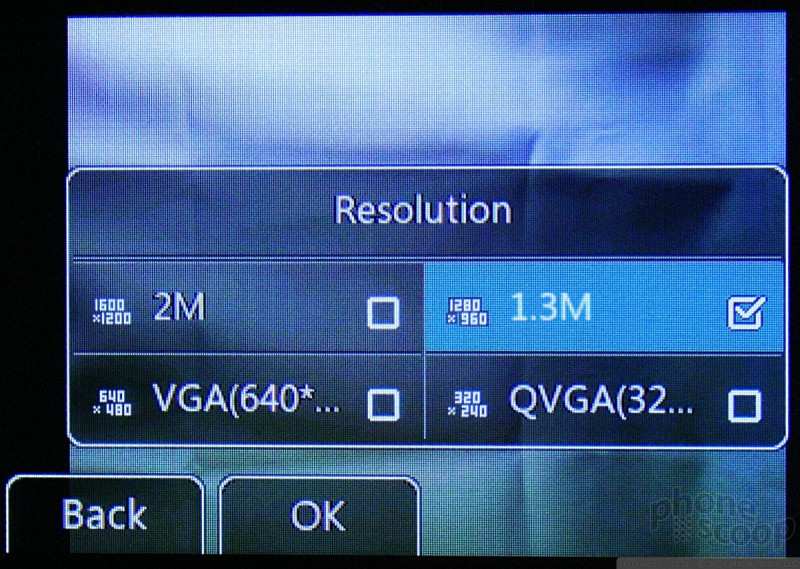
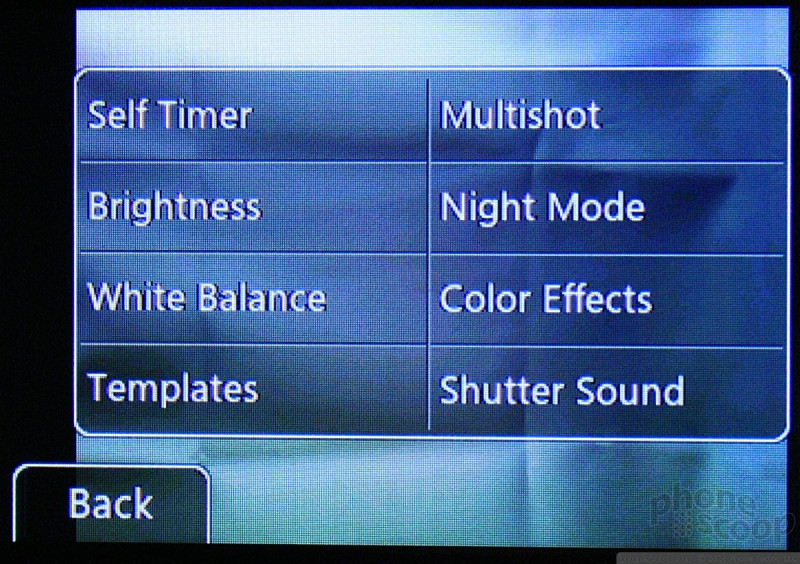
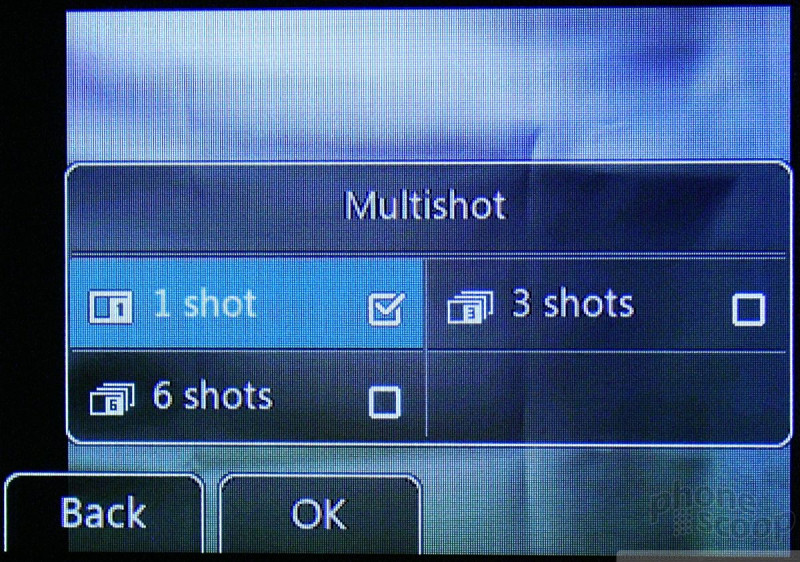
On the left side, you have a zoom slider, gallery button and a still/video camera toggle. On the right side are controls for the flash, view mode, image settings, camera settings and end key. All of these buttons are easy to use and make for relatively speedy access to some of the camera's functions. The image settings and camera settings menus each have a subset of options that isn't immediately obvious. Only time will help you learn exactly which settings are found in the image versus camera settings menus.
Being able to touch the screen to choose what you want speeds up use of the camera. At the top of the screen is a set of status icons that let you know what your settings are set to.
Pressing the camera key freezes the image on the screen almost instantly, but there is a slight pause before the actual picture is taken. We're talking perhaps a tenth of a second. It's fast enough that you'll be safe most of the time, but every now and then that tenth of a second will count for something and you'll miss the perfect shot by the skin of your teeth. Otherwise, the camera performs well.

Gallery
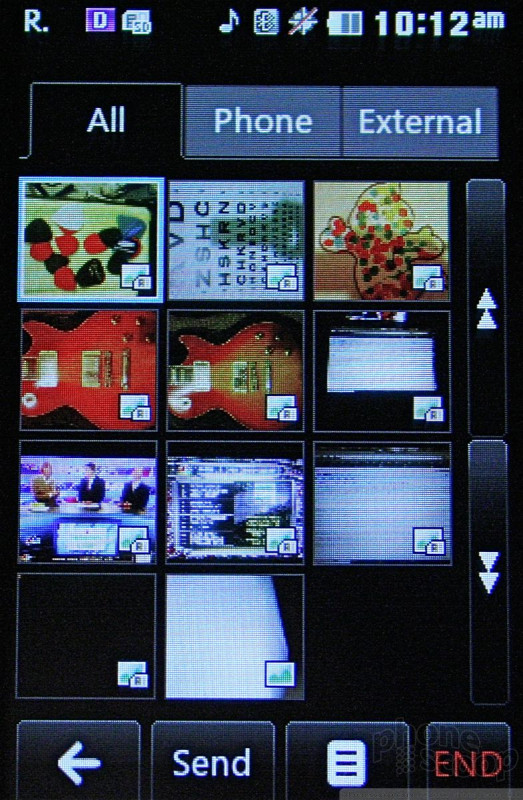
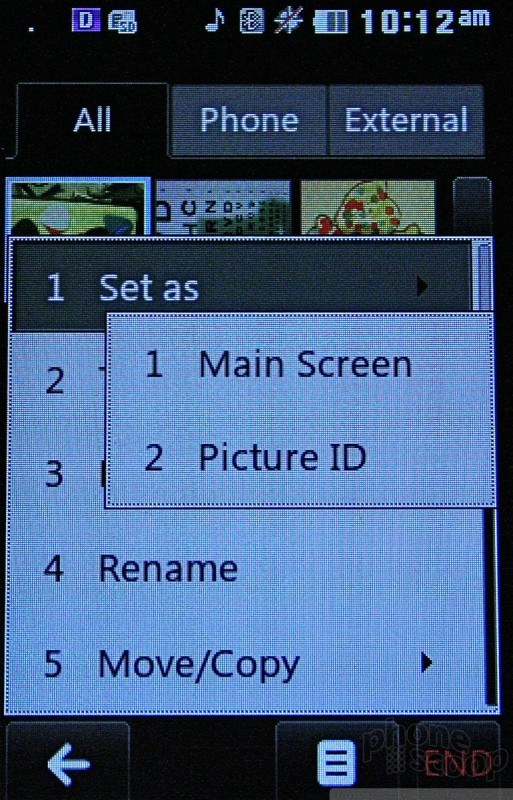
The gallery application can be found in the main menu, the Quick Access menu, or in the camera itself. All three methods take you to the same image gallery. We're sad to report that the gallery app is S L O W. The Glimmer seems to have a hard time reading images pulled off of the memory card, and takes forever to load the thumbnails on the screen. Once the thumbnails are loaded, you can see twelve of them at a time. Up and down arrows on the right side of the screen let you scroll up and down through your image library.
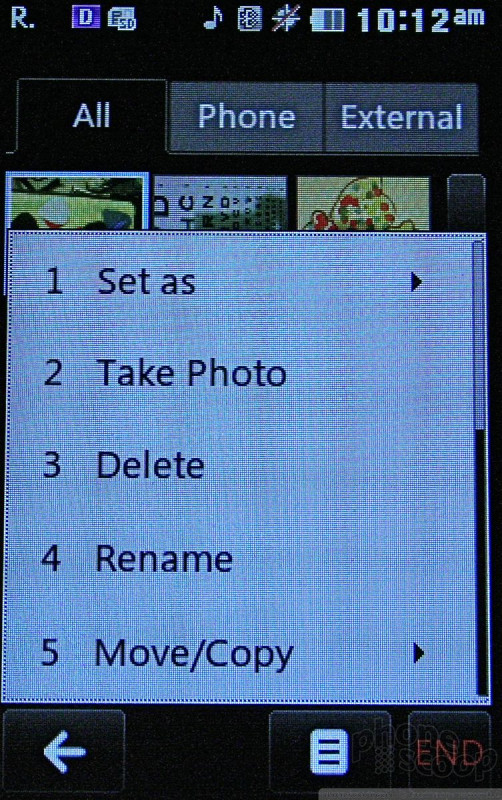
At the top of the gallery are three tabs, which let you sort between photos stored on the device and the external memory card. Highlight an image, and the options menu lets you do a number of things, such as send the picture as a message, or set it as your desktop and so on. The options menu found in the gallery app is the most extensive of any on the phone, there are 12 different actions you can take with your images. The exact same menu is available with the selected image open.
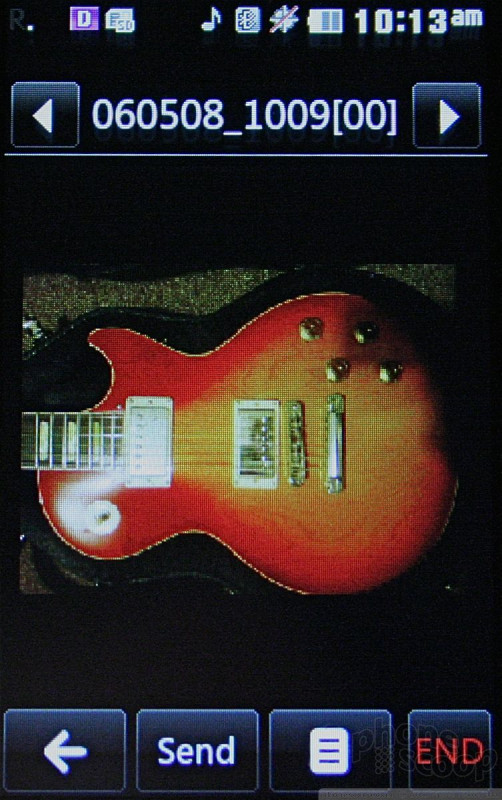
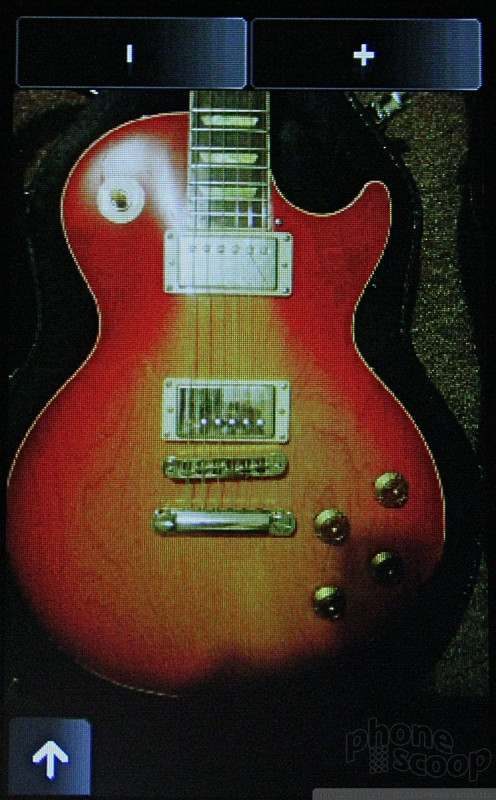
With an image open, you can use two arrows keys at the top of the screen to cycle through your images. You can also view the images in landscape mode, which is a bit more rewarding, since the phone is held sideways to take pictures. In order to view an image in landscape mode, simply tap the center of the screen. It will automatically reorient itself. When viewing in landscape mode, there are two buttons on the screen that let you zoom in and out of the image. This is a nice use of the touch screen to increase functionality.
 CTIA 2008
 iPhone 14 Plus Offers a Big Screen For Less
 Qualcomm Taps Iridium for Satellite Connectivity
 New Asus Phone for Snapdragon Fans Showcases Qualcomm Tech
 Samsung Updates Foldables with Water Resistance, S Pen
 LG Glimmer / UX-830 / Vantage / Spyder