
Review: Samsung u550
Camera
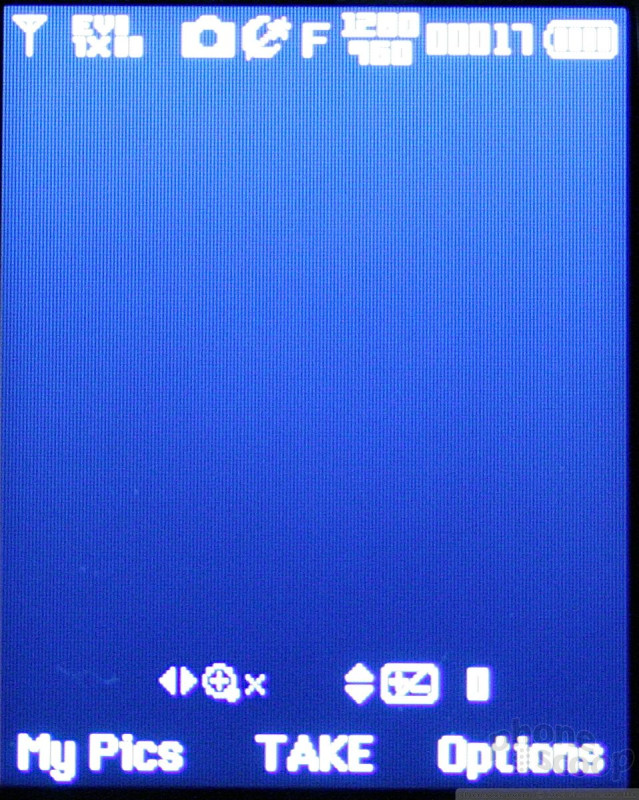
The u550's camera is launched via the dedicated camera/video key to the left of the D-pad, by hopping through the menu system, or by hitting the camera key on the right side of the phone. If you hit the camera button, it boots in a quick 2 seconds. Framing pictures in the screen is simple.
Once you've framed your shot, hitting the center of the D-pad takes the shot almost immediately. The image pops up onto the screen and you have to choose whether to send, save or erase it. Saving it takes about 2 seconds before you can take another picture.
Hitting the D-pad to the left or right will increase or decrease the brightness level in half steps. If the camera is set to full resolution, you cannot zoom in or out. If, however, you dial down the resolution setting a bit, pushing the D-pad up and down lets you zoom in and out.
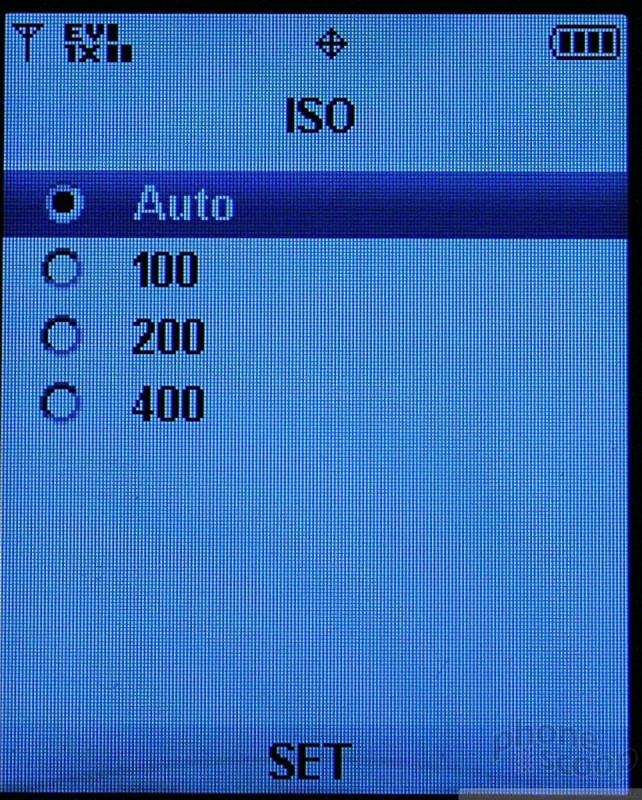
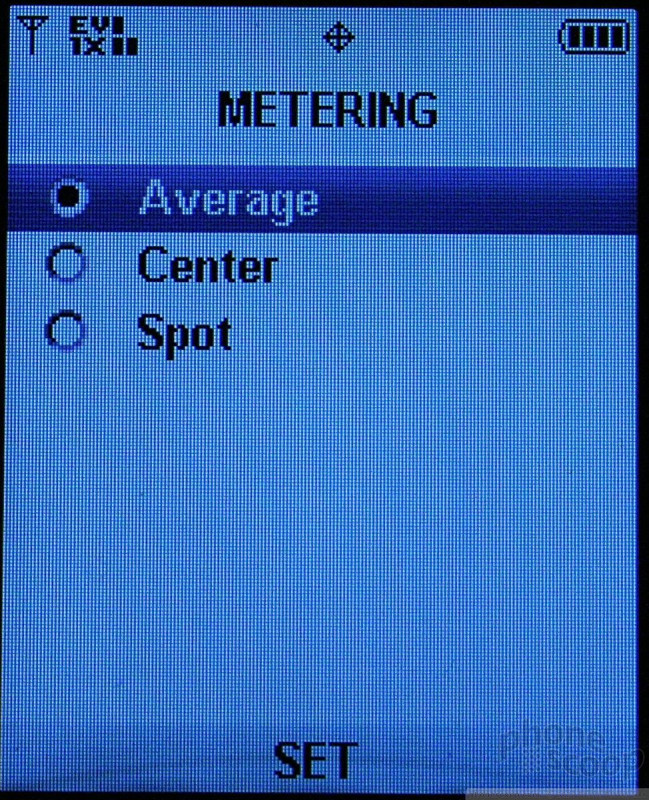
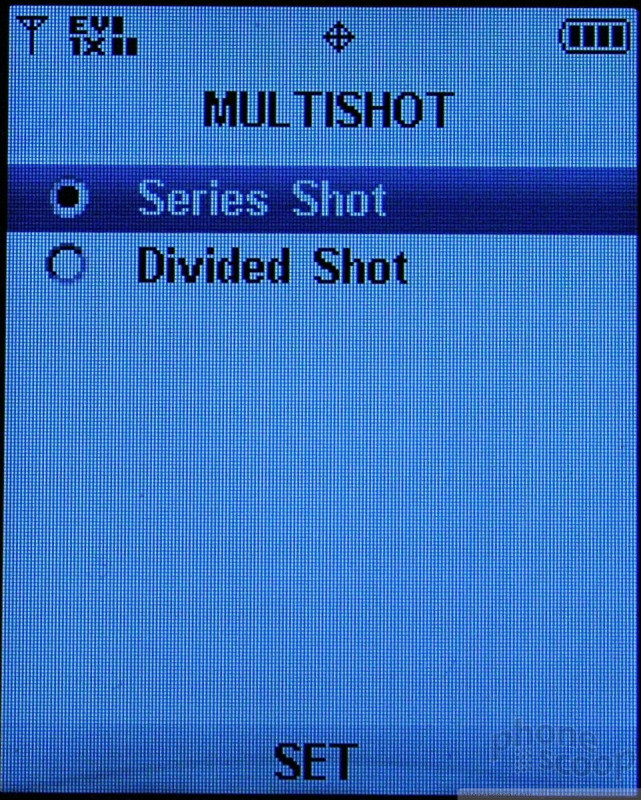
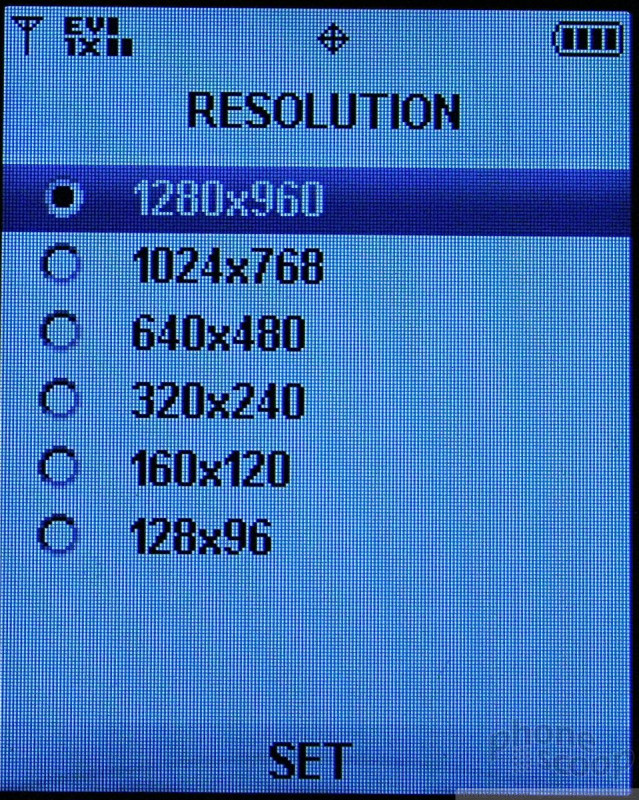
While in the camera mode, the left soft key takes you to the gallery application. The right soft key lets you access all the user-adjustable settings. They include the usual items such as resolution, timer, brightness and flash, but also include color effects and fun frames. The color effects lets you adjust between normal, sepia, black & white, and negative images through the viewfinder. Unfortunately, if the color effects setting is changed, the new setting becomes the default action for the next shot. In other words, if you set it to "sepia" for one picture, and you want normal for the next, you have to go back into the menu and readjust it before taking another shot.
The one frustrating aspect of the options system is that it assumes you only want to make one adjustment at a time. Once you make an adjustment and hit the "set" key, rather than going back to the menu of options, it takes you back out to the camera UI. If you want to make multiple adjustments at once, you have to keep jumping back into the options menu. Fort many, this may be a non-issue. I found it to be time-consuming when I wanted to change a number of the camera's settings at once.
The u550's video camera has two resolution settings, as well as several white balance and duration settings to choose from. As with the camera, you'll need to keep returning to the options menu to fiddle with each one. When shooting a stationary (or nearly stationary) subject, the video camera captures images with no jitters and the action is fairly smooth. Panning the camera around in video mode didn't baffle it too much, and it kept most objects sharp, with little smearing or ghosting. Panning a cross bright objects when in dark environments did prove to be somewhat nettlesome. Bright light sources, such as windows, could completely wash out the u550s video camera for several seconds before it was able to adjust to the new brightness level.


Gallery
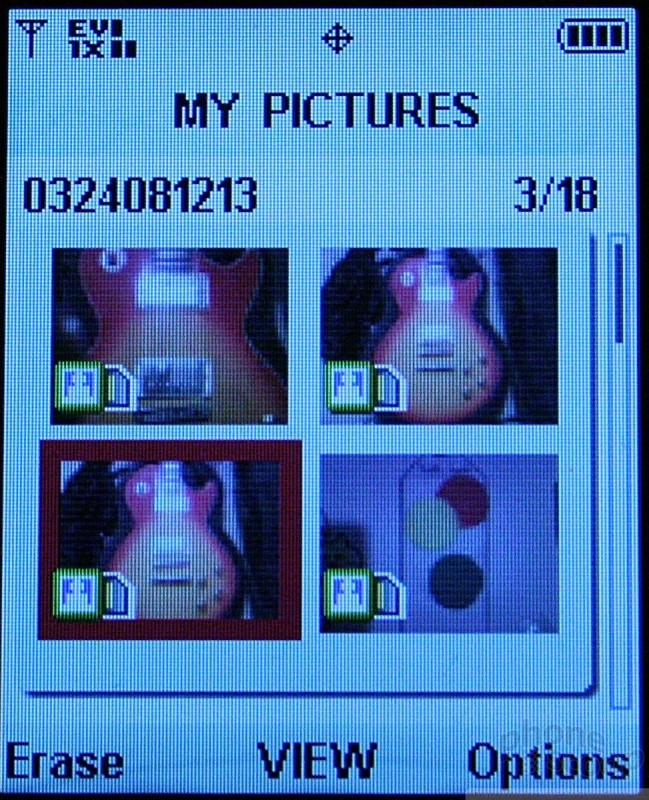
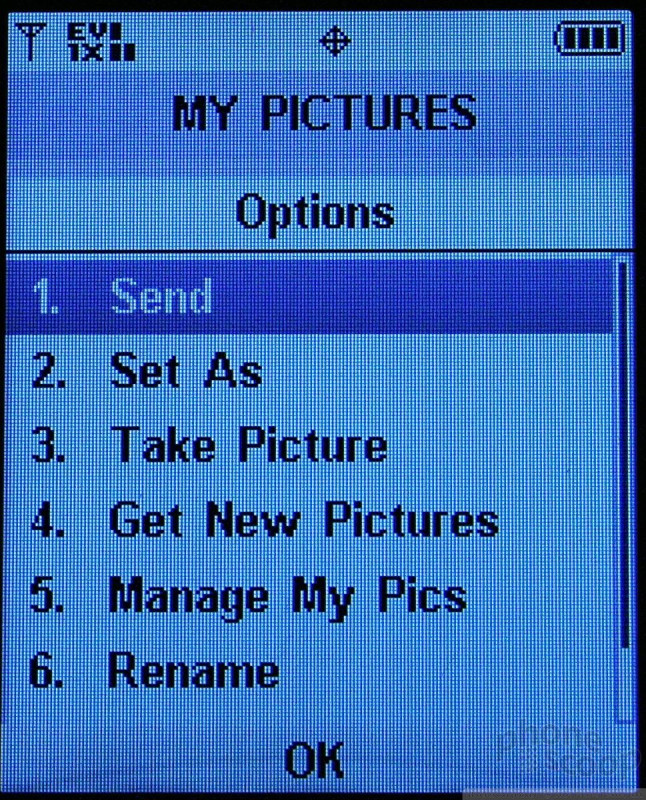
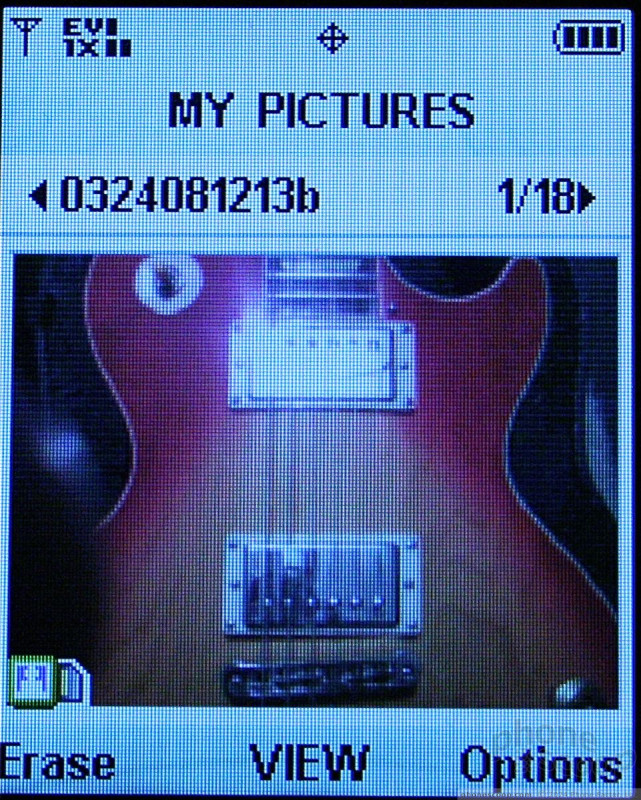
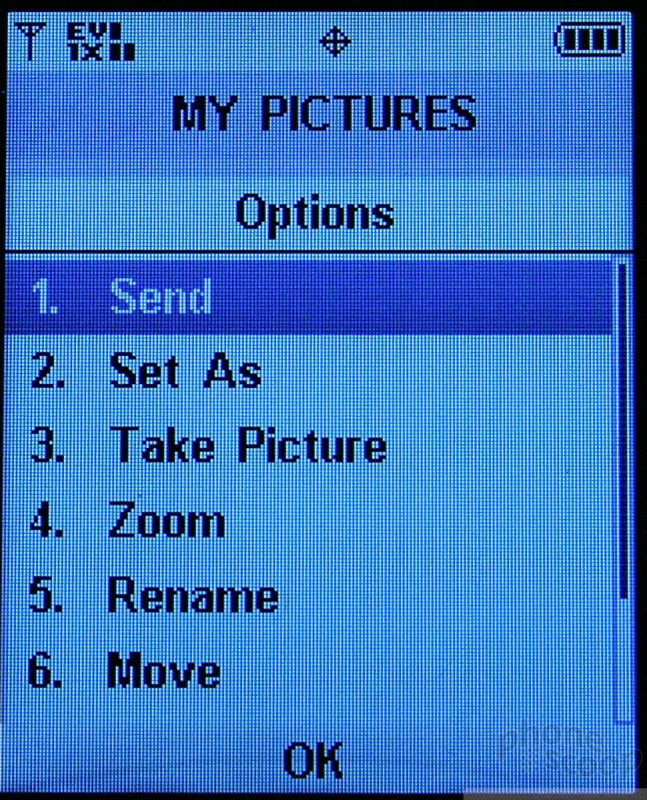
The gallery application is unchanged from other phones that use the Verizon UI. It can be opened by jumping through the menu system (8 steps) or by hitting the camera button and then using the left soft key to load the gallery. The latter of these two options is much faster. The gallery is locked to a two-column view, and was a little slow when scrolling down through the pictures. When viewing the gallery, hitting the right soft key brings up the expected set of options for moving, renaming and otherwise interacting with your pictures.
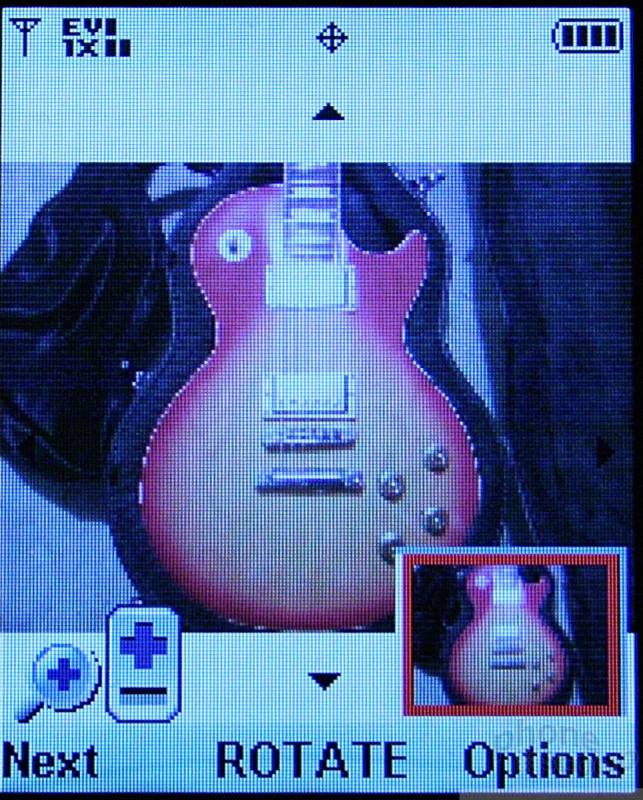
Opening up each picture is as imple as hitting the center of the D-pad when the picture is highlighted on the screen. Once open, the right soft key opens an editor tool and lets you do all sorts of things with the pictures, such as cropping, zooming, adding frames and so on.
 Hands On with the T-Mobile SyncUp Kids Watch
 Orbic Brings its First 5G Phone to Verizon
 Motorola Adds 5G to its 2022 Mid-Range Lineup
 Samsung SCH-U550